What to Expect During a Professional Roof Inspection
Scheduling a Professional Roof Assessment can feel like stepping into the unknown for many homeowners. Will the inspector just glance at your shingles, or will they climb into your attic too? Will they charge $100 or $300? And above all—what will they look at, and what insight will they provide?
In this guide, you’ll discover the full Roofing Inspection Process, broken down step by step. We’ll explain what a top-tier pro examines—from the ground-up visual survey to attic moisture detection—as well as the tools involved, typical costs, and how a thoughtful Roof Inspection Checklist helps ensure nothing gets overlooked.
By the end, you’ll walk into your inspection appointments feeling confident, informed, and equipped to ask the right questions. Whether you want to protect your investment, prepare for a sale, or simply extend your roof’s lifespan, understanding the inspection roadmap is your first step toward peace of mind.
Why a Professional Roof Assessment Matters
A professional evaluation goes far beyond what a cursory glance from the ground could reveal. While DIY inspections may spot missing shingles or sagging spots, trained inspectors use a systematic roof inspection checklist to catch hidden risks—like water intrusion, small structural weaknesses, or poor ventilation—that can lead to costly repairs later. Regular assessments keep your roof performing better, last longer, and often preserve warranty or insurance eligibility.
Real-world benefit: One homeowner discovered attic moisture traced back to damaged flashing—a subtle issue that, if left unchecked, could have led to rot and expensive chimney repairs.
When to Schedule a Roof Inspection
Timing matters. A roof inspection process is wise to schedule:
Annually (e.g., spring or fall maintenance cycles)
After severe weather (storms, hail, heavy snow)
Before buying or selling a property
Ahead of installing rooftop solar
This proactive approach helps you detect small issues before they escalate.
Initial Consultation & Preparation
Your first touchpoint: a quick call or site visit. The inspector will ask about concerns (e.g., leaks, missing shingles), schedule a visit, and advise on making access easy—like clearing cars and obstacles around the house layout. Good communication here sets the stage for a thorough inspection.
Ground-Level Exterior Survey
Before climbing on the roof, most inspectors begin with a ground-level walkthrough using binoculars. They’ll look for:
Missing or curling shingles
Sagging areas or visual warping
Granule shed accumulation in gutters
Debris or damage around chimneys, vents, and valleys
This initial glance frames the inspection zones that need closer attention.
On-Roof Visual Inspection
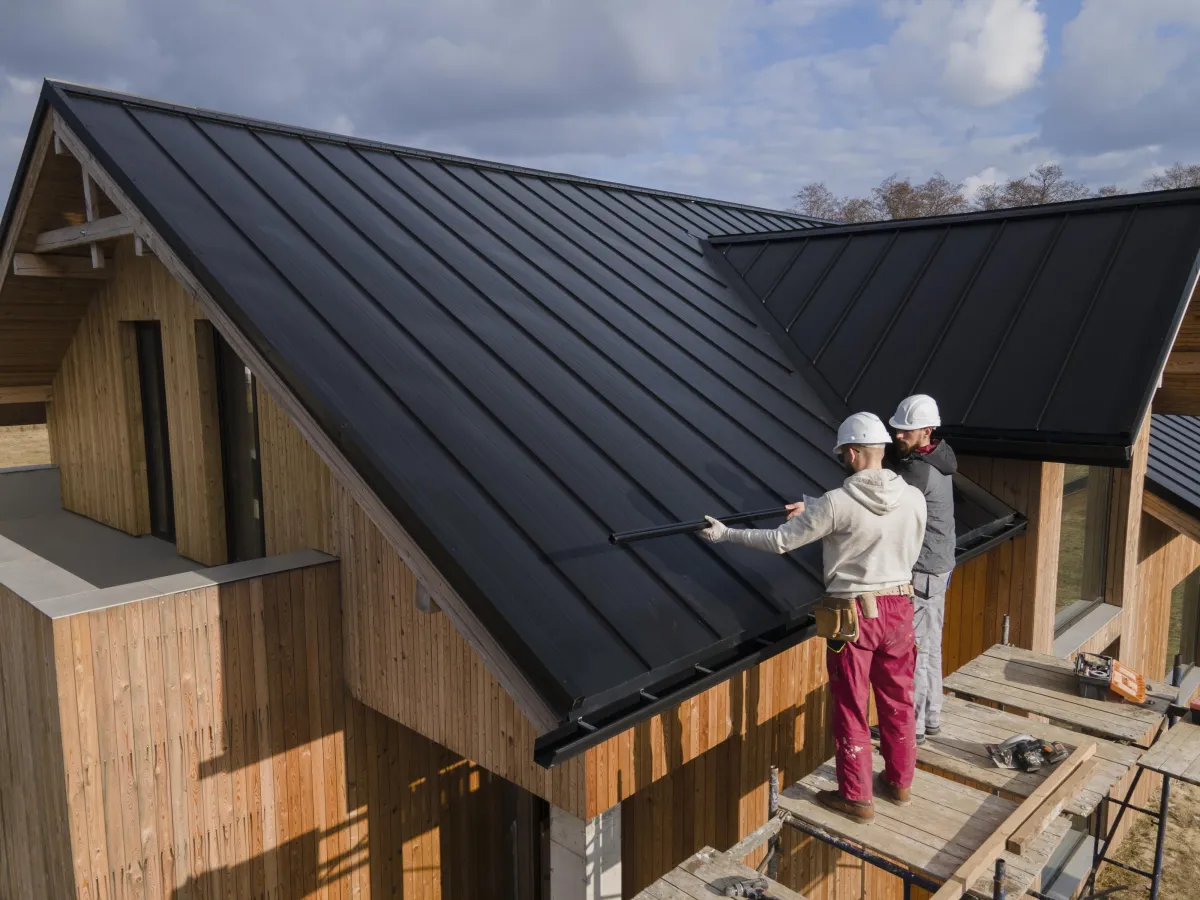
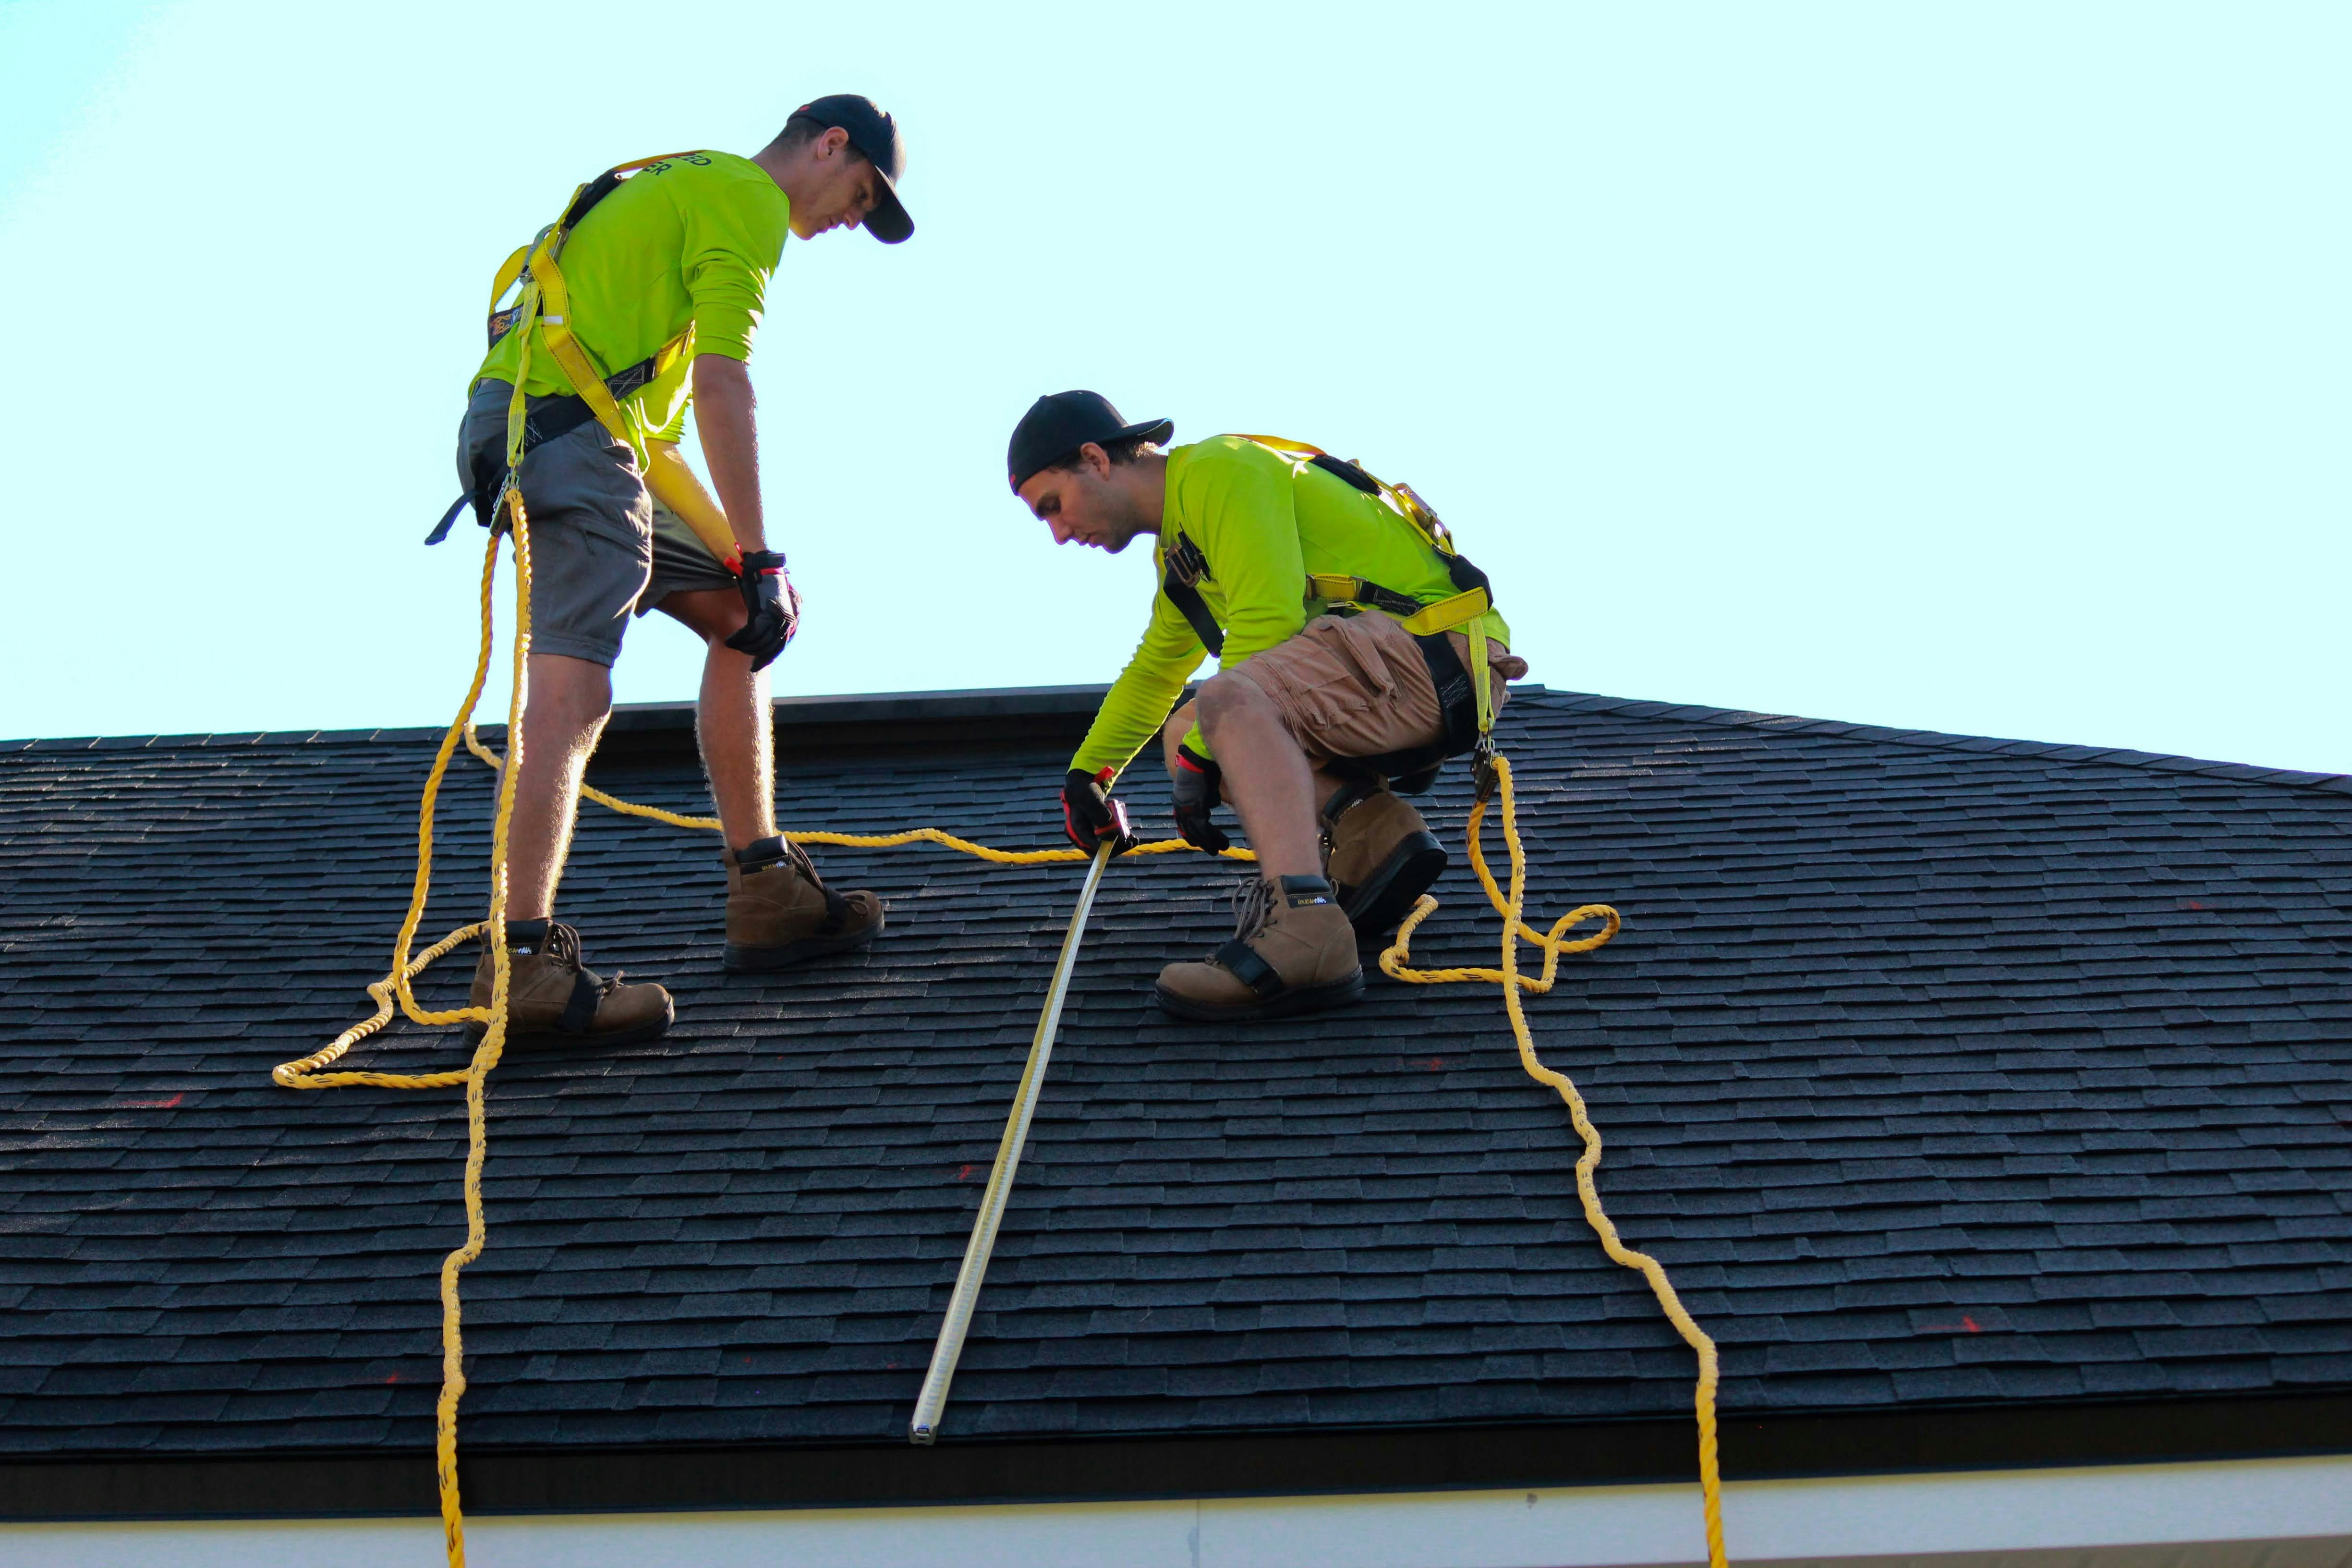
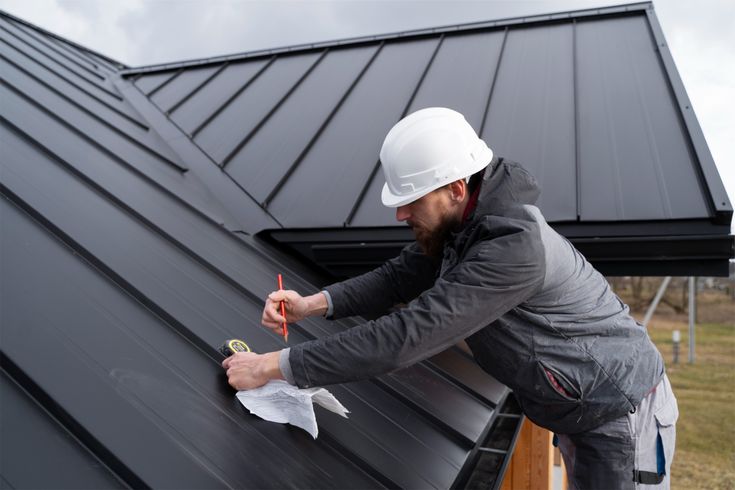
Once on the roof, the inspector examines:
Shingles or roofing material condition (cracks, wear)
Presence of moss, rust, or discoloration
Flashing around chimneys and vents
Skylight seals, flashing integrity
Potential soft spots or lifted materials
This detailed visual survey helps spot immediate threats to water-tightness and surface integrity.
Structural & Material Evaluation
Inspectors assess structural integrity by checking for sagging rafters, deck deformation, or weakened tie-ins that could compromise support. They also check whether underlayment is intact and whether roofing materials show advanced aging or damage.
Flashing, Seals & Penetrations Check
Flashings—around chimneys, pipes, skylights—or roof penetrations are frequent leak entry points. The inspector tests seal adhesion, checks for cracked or missing flashing, and ensures proper overlap to prevent water ingress.
Gutters, Fascia & Soffits Examination
A clean gutter system and healthy fascia/soffits are key to preventing moisture damage. Inspectors check for:
Debris buildup or granules in gutters
Signs of rust, rot, or mold on wood components
Gutter alignment and water flow direction away from the foundation
Interior Attic & Ceiling Inspection
Inside, inspectors look for:
Water stains or light filtering through the roof
Attic mold or mildew
Visible pest entry points or damage
Insufficient ventilation or insulation problems
Often, the attic reveals what’s been leaking or degrading unseen from the outside.
Advanced Tools & Technology Used
Infrared Scanners
Used to detect hidden moisture or thermal anomalies—not visible via eye. Especially useful in flat roofs or large spans.
Drone Surveys
Perfect for steep pitches or unsafe roof conditions. Drones capture high-res imagery without safety risk.
Moisture Meters
Handheld meters detect dampness in roofing components, ceilings, or attic structures, aiding diagnosis before visible damage occurs.

Roof Inspection Checklist Essentials
A comprehensive checklist ensures nothing falls through the cracks. Key items include:
Exterior surface & shingles (damage, missing pieces)
Flashings & penetrations (chimneys, vents, skylights)
Gutters, fascia, soffits (alignment, rot, debris)
Attic interior (stains, mold, light, ventilation)
Structural supports (sagging rafters, deck integrity)
Roofing details (underlayment condition, insulation, seals)
Recommendations & maintenance planning
Use of a checklist enhances clarity and defensibility of the report.
Report Delivery & Recommendations
After the inspection, expect:
A written or digital report with photos
A grading of roof condition (e.g., good, fair, critical)
Summary of urgent vs. long-term issues
Suggested timeline for repairs or maintenance
Estimated cost ranges (optional)
This report educates homeowners and empowers repair planning.
Cost Expectations & Influencing Factors
A roofing inspection process typically costs $100–$300, depending on:
Roof size and slope
Complexity (multiple stories, dormers)
Tools used (infrared, drone, moisture meter)
Interior access challenges
Inspection depth
Some contractors may offer basic inspections free prior to repair estimates, but full assessments often require a fee.
Common Issues Uncovered During Inspections
Frequent findings include:
Curling or cracked shingles
Loose or damaged flashing
Ponding water or poor drainage
Roof deck sagging or soft spots
Attic moisture and mold
Ventilation and insulation shortfalls
These findings help prevent bigger problems like rot, leaks, or structural failure.
Frequency & Scheduling of Inspections
Recommended timelines:
Annually for general upkeep
Immediately after severe weather (storms, hail, wind)
Before sale or purchase of a home
Before major roof work (like solar installation)
Consistent scheduling helps maintain integrity and warranty compliance.

DIY vs. Professional Inspection: Pros & Cons
DIY Roof Inspection
Doing your own roof check has one big advantage: it’s free and immediate. You can grab a pair of binoculars or climb up a ladder to spot missing shingles, moss buildup, or sagging areas right away. It’s cost-effective and convenient.
However, the downsides are significant. Homeowners often miss subtle issues like failing flashing, hidden leaks, or ventilation problems. There’s also the risk of falling or injuring yourself. Finally, DIY inspections don’t provide the formal documentation often needed for warranties, insurance claims, or property sales.
Professional Roof Inspection
Hiring a professional inspector ensures a much more thorough and safe evaluation. Pros have the training, checklists, and advanced tools (like infrared scanners or drones) to identify issues you’d likely miss. They also provide a written report with photos, which is invaluable for insurance or future resale.
The trade-off is cost—usually between $100 and $300 depending on roof size and complexity. You’re also relying on the inspector’s expertise, so choosing a reputable company is key.
In short: DIY is quick and cheap but limited and risky, while professional inspections deliver accuracy, safety, and detailed reporting that make them the smarter long-term investment.
Quick Takeaways
A Professional Roof Assessment gives clarity and confidence.
Expect layered evaluation: exterior, on-roof, structural, and attic.
Advanced tools like infrared or drones improve detection.
Detailed Roof Inspection Checklist ensures completeness.
Reports guide repair planning and roof maintenance.
Inspection cost varies—know what factors affect pricing.
Schedule inspections annually and after big storms.
Conclusion
Understanding what to expect during a roofing inspection process transforms uncertainty into confidence. From the initial ground-level overview to the attic's hidden signs of moisture, a professional roof assessment offers far-reaching insights that can protect your home and your wallet.
A thorough inspection isn't just about identifying visible damage—it’s a structured exploration of every layer that helps a roof stay resilient: materials, structure, seals, and interior integrity. Reports with photos and detailed notes become your roadmap, guiding maintenance, repairs, or upgrade decisions.
Yes, DIY checks can catch obvious trouble, but they can’t replace the depth that a trained inspector delivers—especially with the aid of infrared scanners, drone footage, or moisture readings that expose issues still out of sight.
Whether you're planning a sale, navigating insurance claims, or safeguarding your home through heavy seasons, investing in a professional inspection pays dividends in prevention and assurance.
Ready for clarity and control? Schedule a thorough inspection from a certified professional today—and know your roof is fully assessed, protected, and well-documented.
FAQs
How long does a professional roof inspection usually take?
Typically 45 minutes to 3 hours, depending on roof size, accessibility, and complexity of the inspection AngiBH Roofing.What does a roof inspection report include?
Expect photos, condition rating, issue diagnosis, repair recommendations, and estimated timelines for next steps Today's Homeownerpremiergrouproofs.com.How much does a professional roof inspection cost?
Usually ranges from $100–$300, depending on roof complexity and inspection depth Today's HomeownerOwens Corning.How often should I have my roof inspected?
At least once a year, and after major weather events Today's Homeownerpremiergrouproofs.com.Can a drone or infrared scan replace a physical inspection?
These are powerful tools but best used alongside a traditional on-site inspection for complete accuracy Owens CorningRoofing Georgia.
What’s the biggest question you have about roof inspections—cost, process, tools, or timing? Share it below, and let’s discuss! If this guide helped, please share it with your neighbors or on social media to help others understand the roof inspection process.
Infographic Concepts
Roof Inspection Process Flowchart
Stages: Ground Survey → On-Roof Check → Attic Scan → Report → Action Plan
Alt Text: “Roofing inspection process flowchart overview.”
Tools Used in Professional Roof Inspection
Icons: binoculars, infrared camera, drone, moisture meter
Alt Text: “Professional roof assessment tools diagram.”
Roof Inspection Checklist Visual
Split list: Exterior / Interior / Structural / Seals
Alt Text: “Roof inspection checklist sections infographic.”
References
Today’s Homeowner – Roof Inspection Guide, describing the Roof Inspection Process and components such as interior, material, structural, workmanship inspections, with cost range Today's Homeowner.
RoofSnap – “Ultimate Roof Inspection Checklist for Pros” outlining the inspection steps and business case roofsnap.com.
Services Explainer – Step-by-step guide on What to Expect During a Roof Inspection, including preparation and visual inspection stages Services Explainer.
Owens Corning – Explanation of what inspectors check, frequency, cost factors, professional value Owens Corning.
Premier Group – Detailed breakdown of roof inspection process stages and value of regular inspections premiergrouproofs.com.